What You Need to Know About Grips
You want to get the full potential out of your tennis racket? Then you should definitely think about the grip. The racket handle is the only place where you are in contact with the racket during the entire game. Therefore it is important to choose the right grip.
Grips have a great influence on the playing comfort and control of the racket. We have therefore created a complete overview for you, in which we explain all types and characteristics of grips. You will also learn how to Change an overgrip and attach a heat shrink sleeve with ease.
Generally there are two different types of grips, the replacement grip and the overgrip.
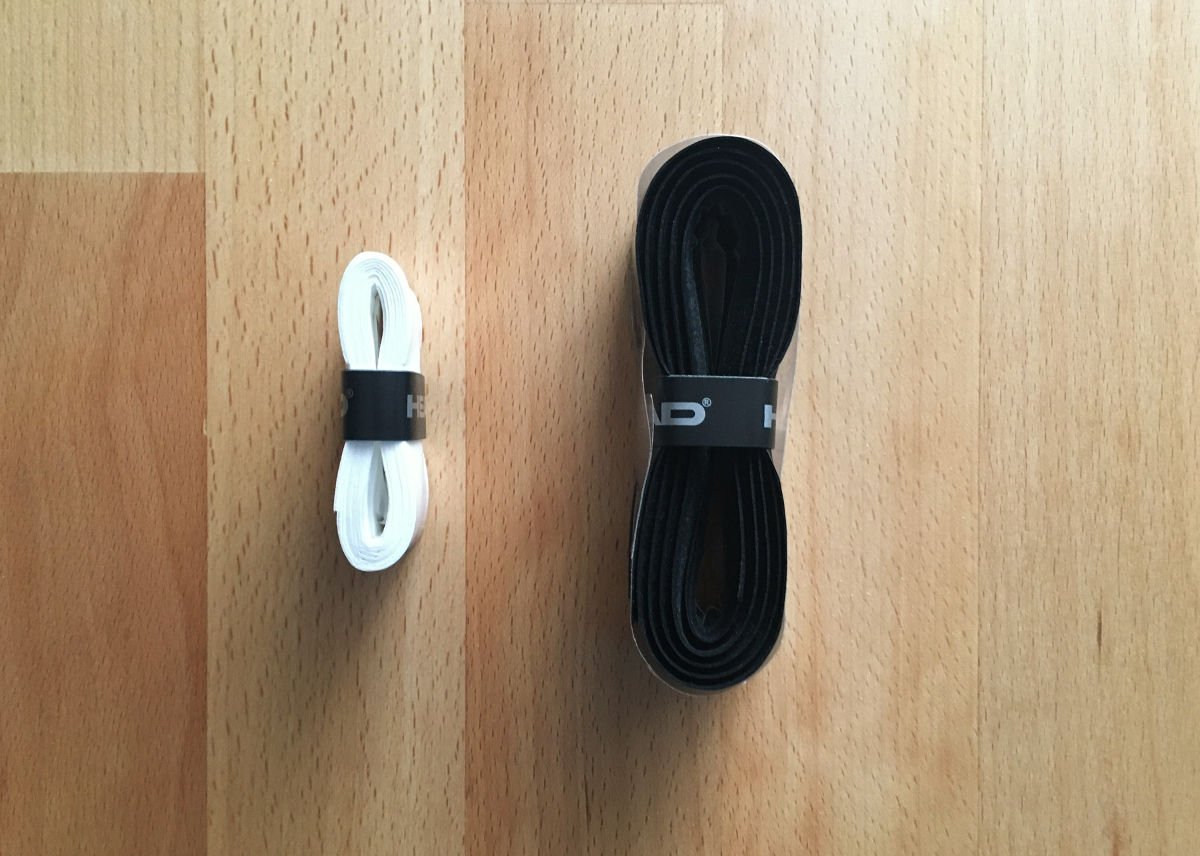
Replacement Grip
The replacement grip is the first grip that is wrapped around the handle of the tennis racket. In general, the replacement grip has several functions.
Firstly, it provides the necessary support and playing comfort so that the handle fits perfectly in your hand. The replacement grip also absorbs most of the vibrations that occur when hitting the ball. This reduces the shock and thus relieves your arm.
In addition, the grip absorbs sweat, so that the handle remains dry and handy even after severel hours of playing.
Replacement grips are available in thicknesses from 1.3 mm to 2.4 mm. They are much thicker than overgrips and therefore also more durable. Nevertheless, you should replace the replacement grip regularly.
Just as with tennis strings, we recommend that you adjust the change of grip to your training intensity. For example, if you train three times a week, you should change the replacement grip band about three times a year.
When you buy a new racket, it always comes with the manufacturer’s replacement grip.
Overgrip
Many players wrap at least one overgrip around the replacement grip. With an overgrip you can increase the playing comfort a lot.
There is a much wider range of different materials and features available for overgrips than for replacement grips. Some overgrips are especially sweat-absorbing. Others have a very good traction.
So you can choose the overgrip that perfectly fits your needs. Furthermore, overgrips are cheaper and easier to change than replacement grips because they do not have an adhesive back.
Overgrips are available in different thicknesses from 0,4 mm to 1,0 mm. Since overgrips are thinner than replacement grips, their durability is correspondingly lower. How often the overgrip should be changed depends not only on the intensity of play, but also on the material.
Overgrips with a rough surface tend to fray faster than those with a smooth surface. If the playing comfort of the overgrip has decreased considerably, we advise you to change it at the latest then.
Tip: If you wrap one or more overgrips around the replacement grip, you automatically increase the grip size of your racket. You can also use overgrips to adjust the grip size to your hand. Note that this will change the balance point of the racket. The more overgrips you use, the more head light your racket will be balanced.
How to Change an Overgrip
To wrap a grip you need two tools: scissors and a pen. Whether you are wrapping a replacement grip or an overgrip, the procedure is the same for both grips.
The only difference with the replacement grip is the adhesive backing. This is present so that the grip adheres optimally to the pallet of the tennis racket. Overgrips are generally wrapped over the replacement grip. For this reason overgrips do not have an adhesive backside.
Before wrapping the new overgrip, make sure that the replacement grip of your racket is clean and free of impurities.
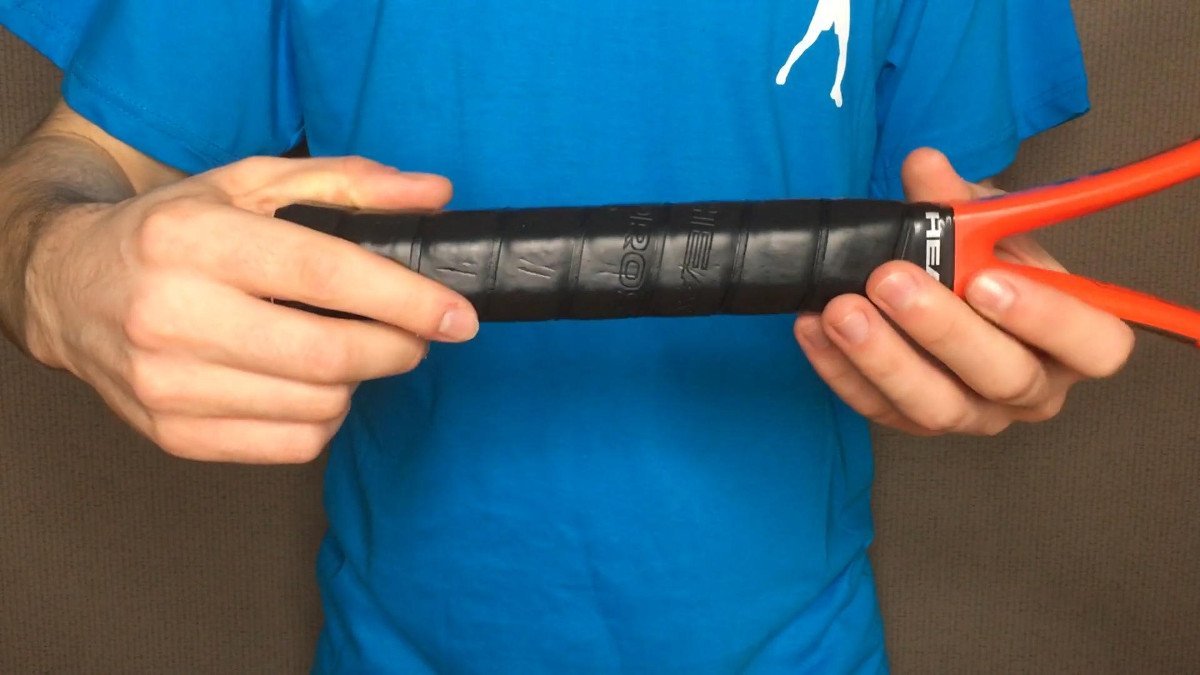
Take the overgrip out of the packaging in the first step. You will notice that the overgrip comes with a small finishing tape. With this finishing tape you will later fix the overgrip to the throat of the racket. Put the tape aside for now.
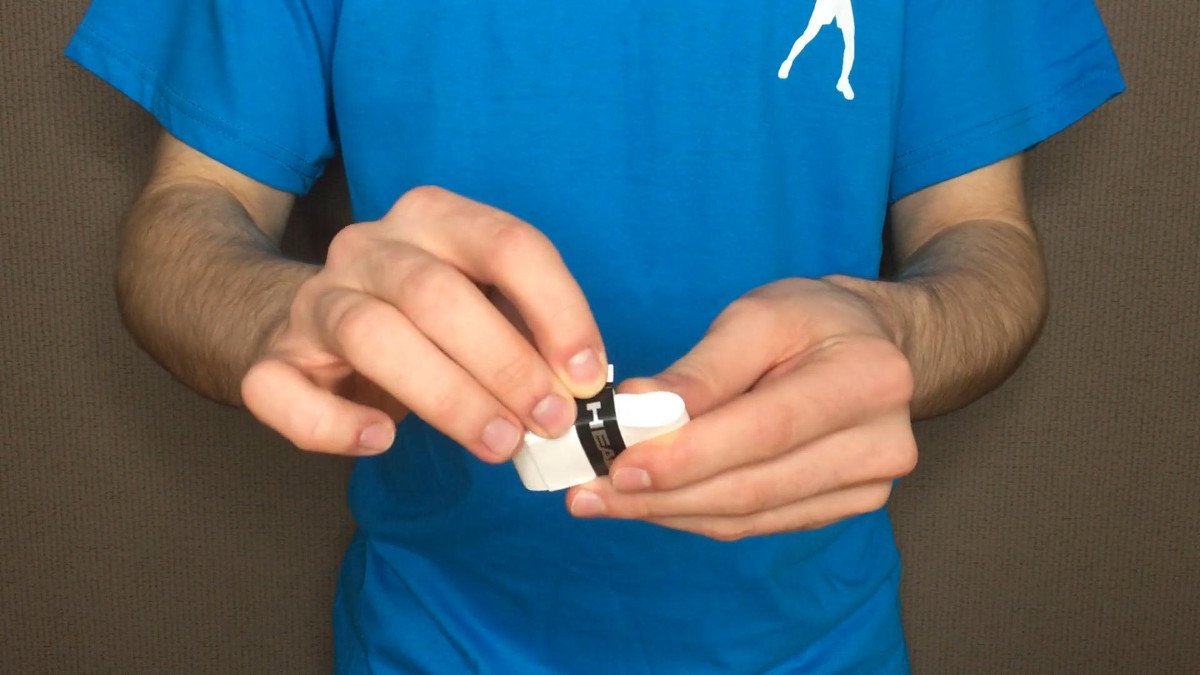
The second step is to unroll the overgrip. Then peel off the plastic.
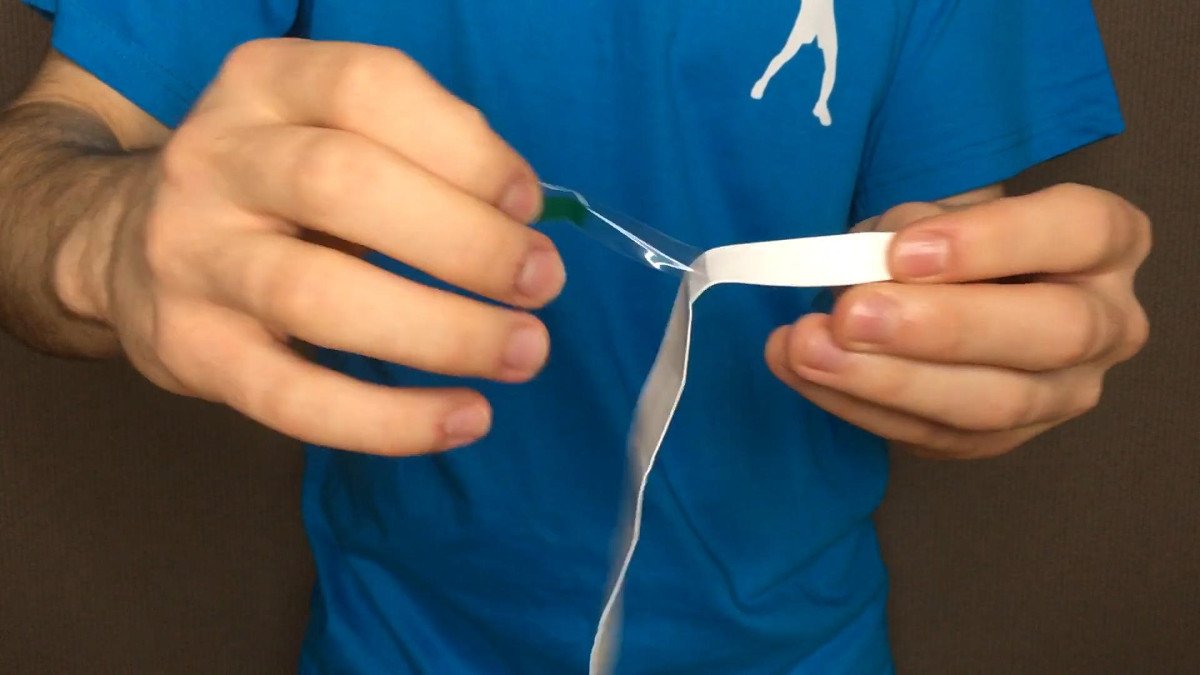
Now you can see that the overgrip has two different ends. A normal and a narrow end. On the back of the narrow end there is an adhesive dot. Remove the plastic here as well.
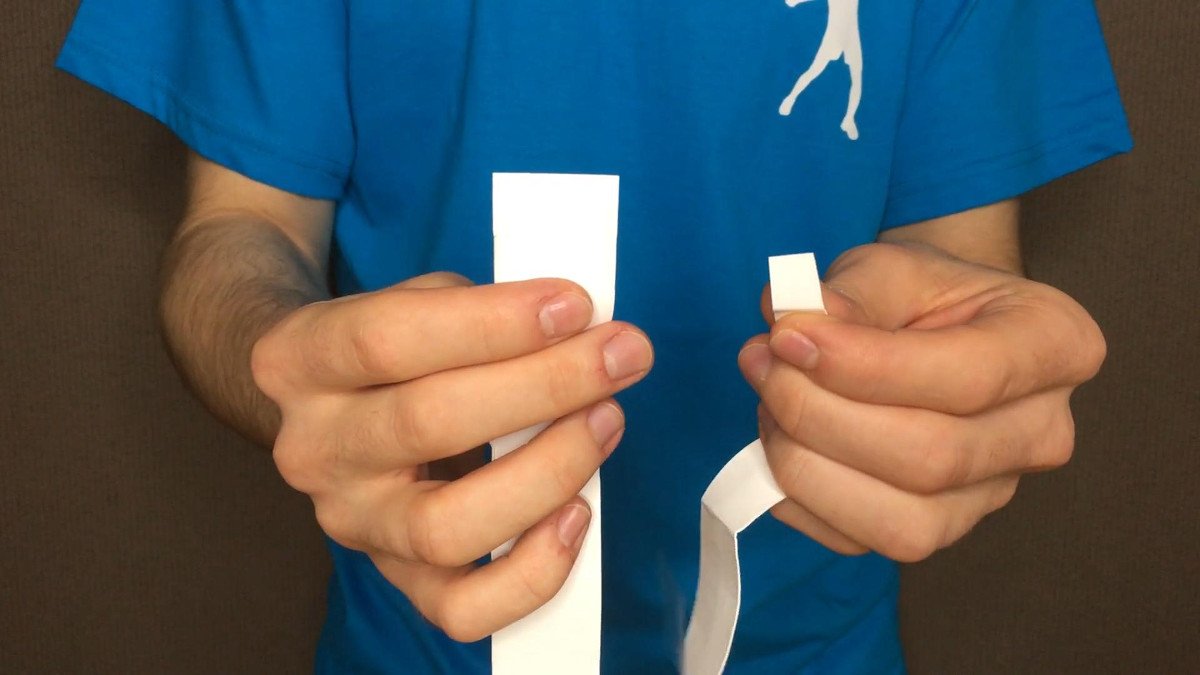
When wrapping the overgrip you always start at the butt cap of the racket and work your way up to the throat. If you are right-handed, wind the overgrip counterclockwise. If you are left-handed, you wrap the overgrip clockwise.
Now take the narrow end in your hand and place it on one of the bevels of the handle. Make sure that you position the overgrip exactly flush with the butt cap. The overgrip should not protrude beyond the butt cap, as this would cause the overgrip to come loose relatively quickly.
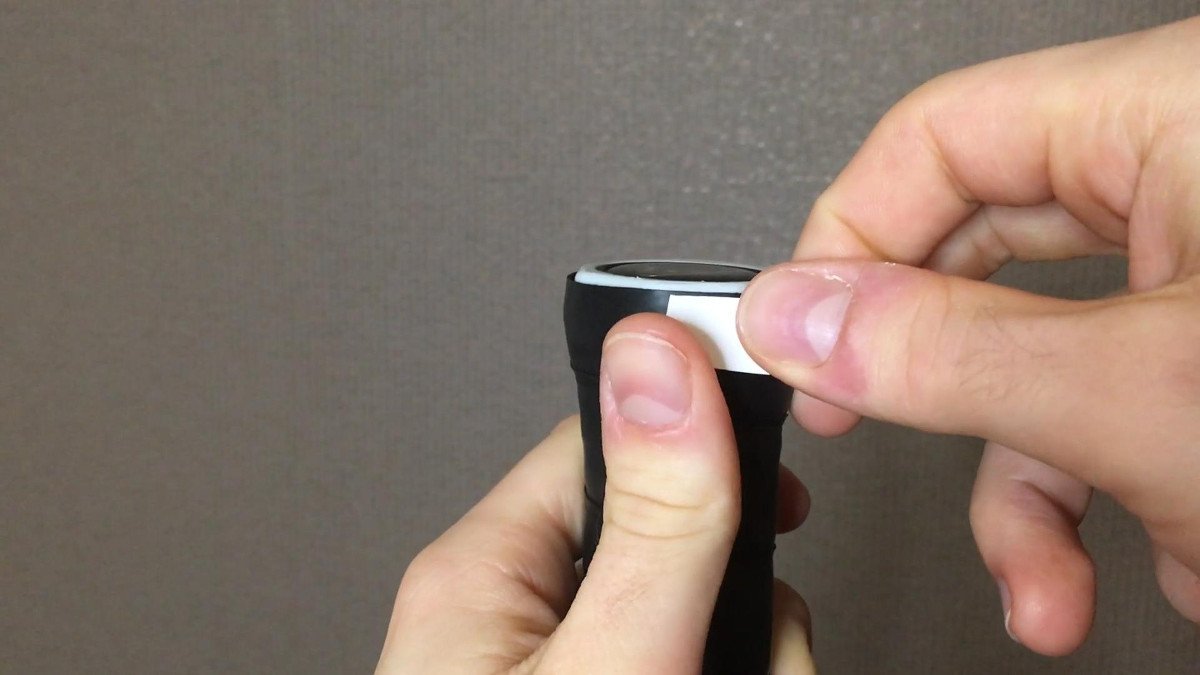
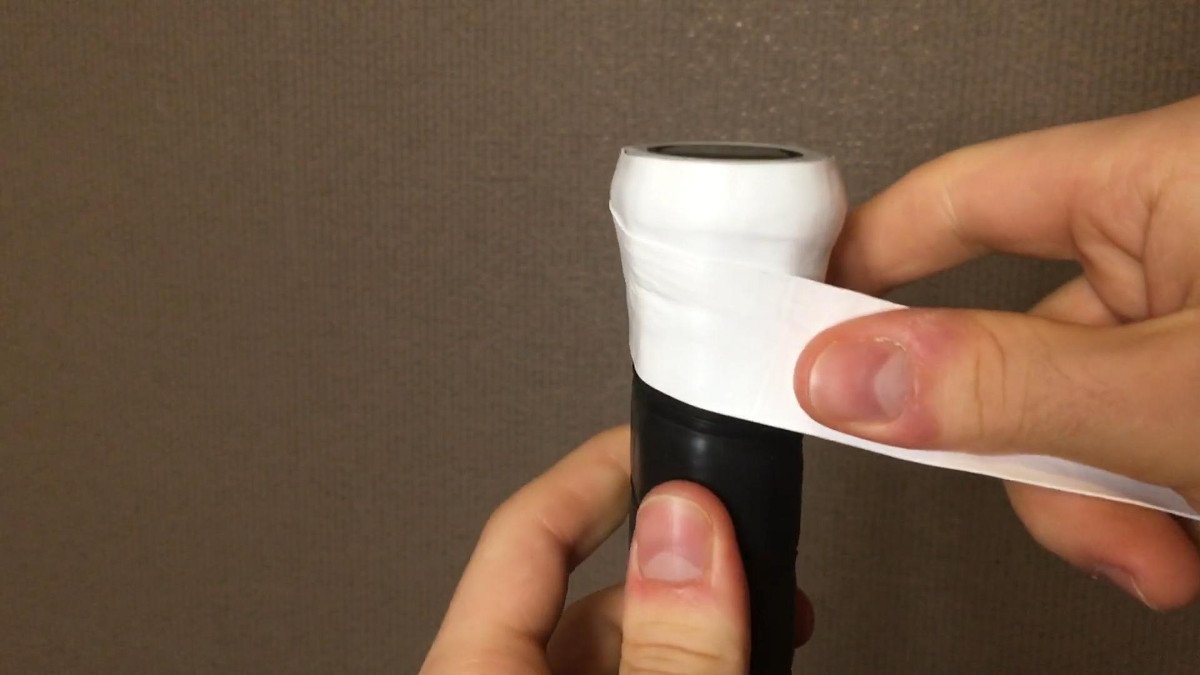
Now wrap the overgrip once around the handle to ensure the best possible support on the handle. After the first lane, pull the overgrip diagonally and then wind it spirally around the handle to the throat. Make sure that the individual lanes do not overlap more than 1/8th of an inch.
When you have wrapped the entire handle, mark the excess of the overgrip with a pen.
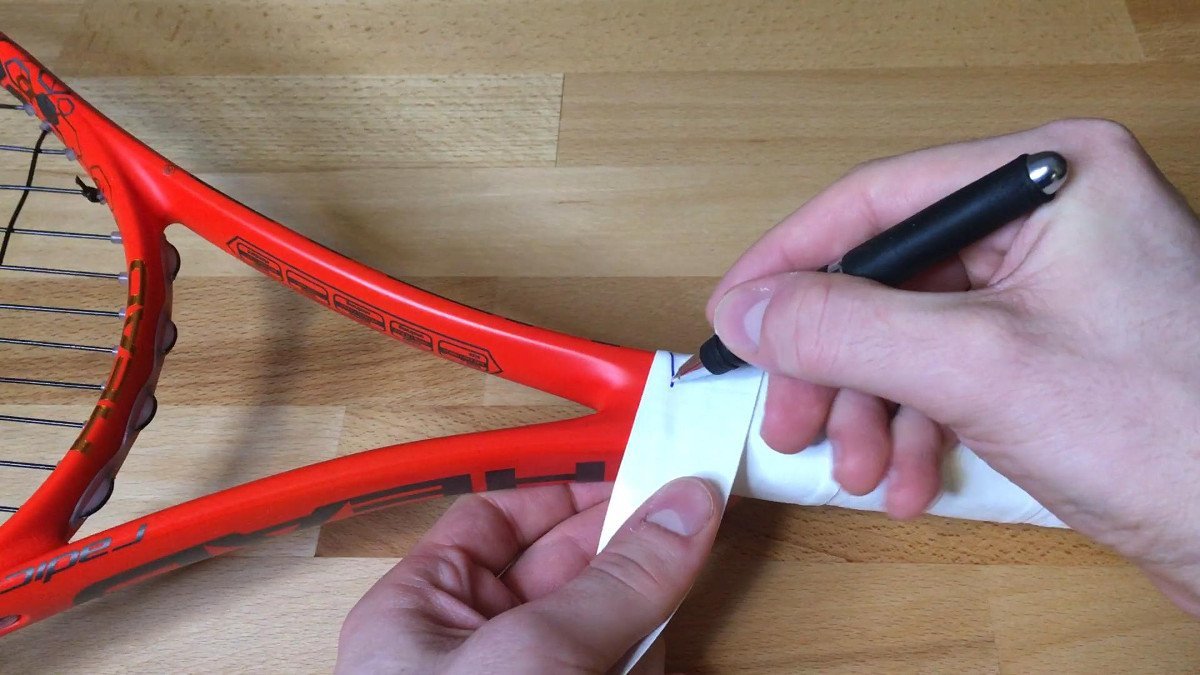
In the next step, cut off the rest with scissors. Finally, you only need the finishing tape that you put aside before.
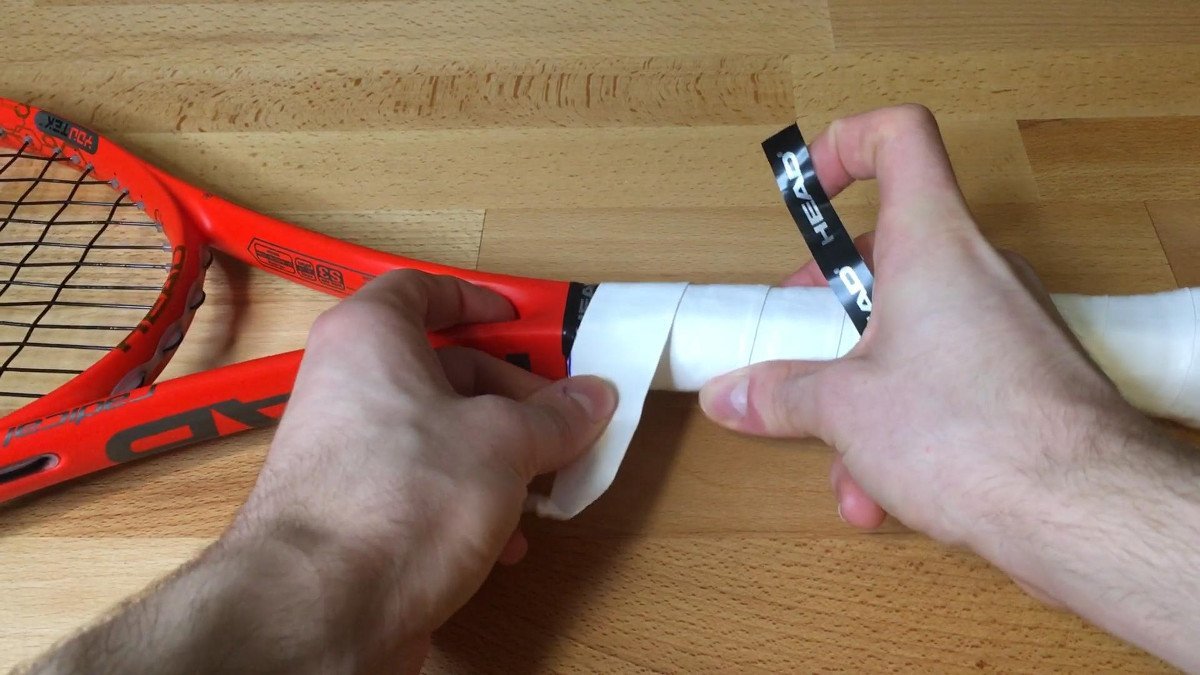
With this tape you now stick the end of the overgrip to the racket.
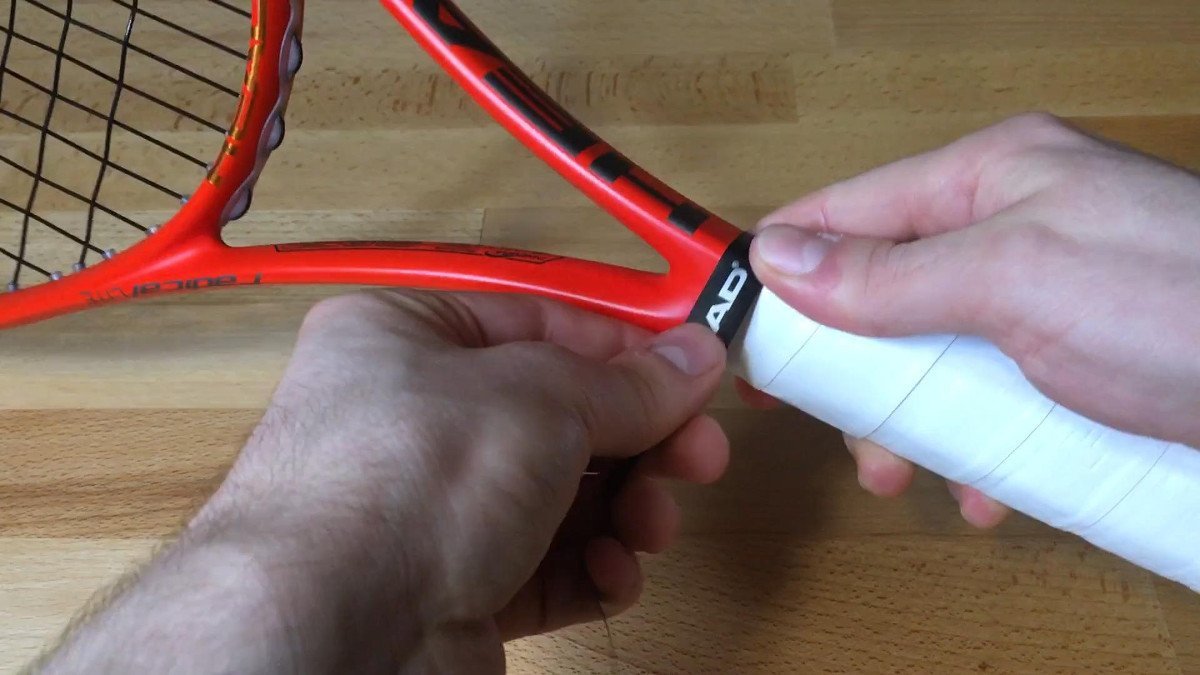
Congratulations, now you have finished changing your new overgrip.
Heat Shrink Sleeve
In addition to overgrips, there are additional coatings, so-called heat shrink sleeves, with which you can make your handle thicker. Depending on the variant you can increase your handle by one full or half a grip size. To attach a heat shrink sleeve you need a heat gun and a cutter knife.
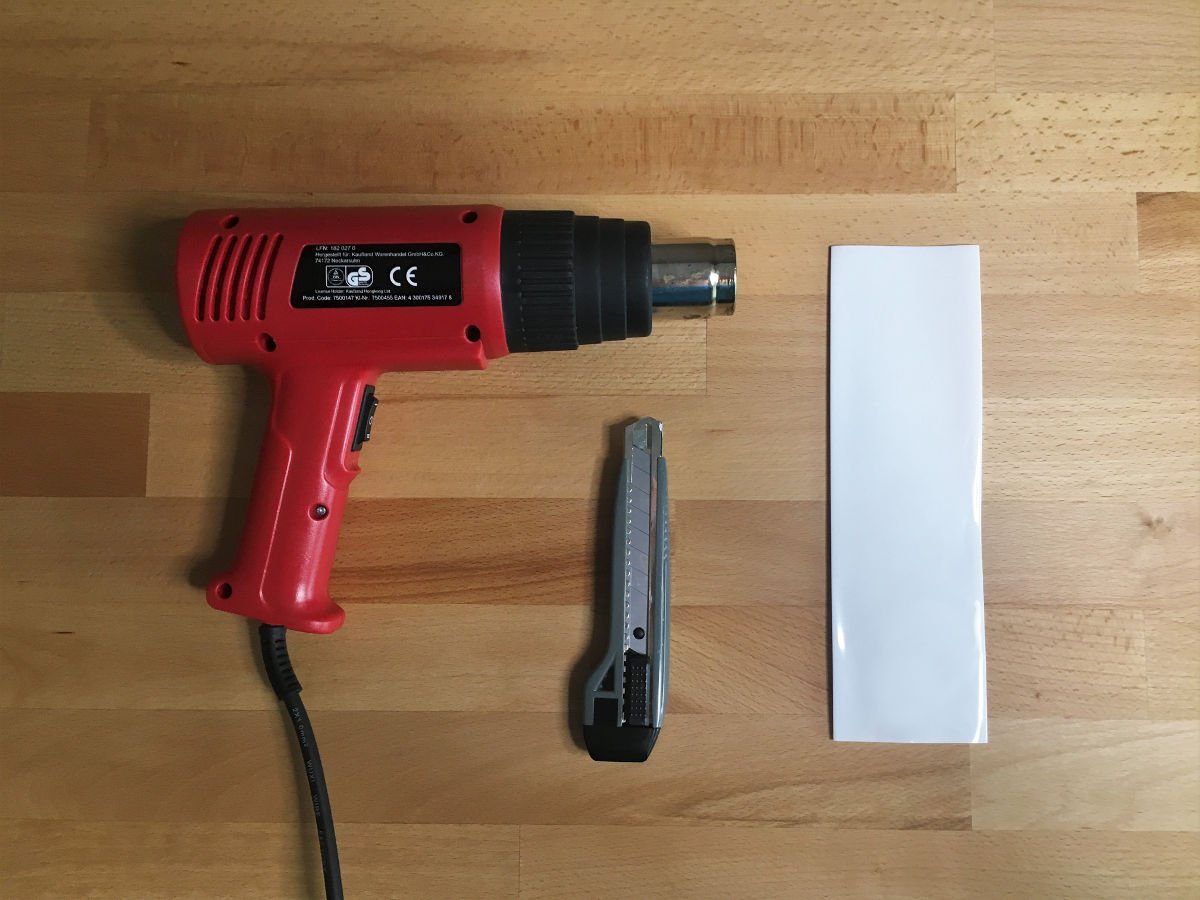
If you do not have a heat gun at hand, you can also use a standard hairdryer. However, it takes much longer for the hose to contract.
Since the shrink sleeve is attached directly to the pallet, you must first remove the replacement grip from the racket handle. Also remove the adhesive residues of the replacement grip to avoid unevenness. Now take the heat shrink sleeve and pull it over the handle. One end of the sleeve should fit exactly at the transition from pallet to throat.
Now start to heat the sleeve with the heat gun. Hold the heat gun at a distance of about 8 inches from the handle. Start at the bottom of the handle and heat the sleeve step by step towards the throat.
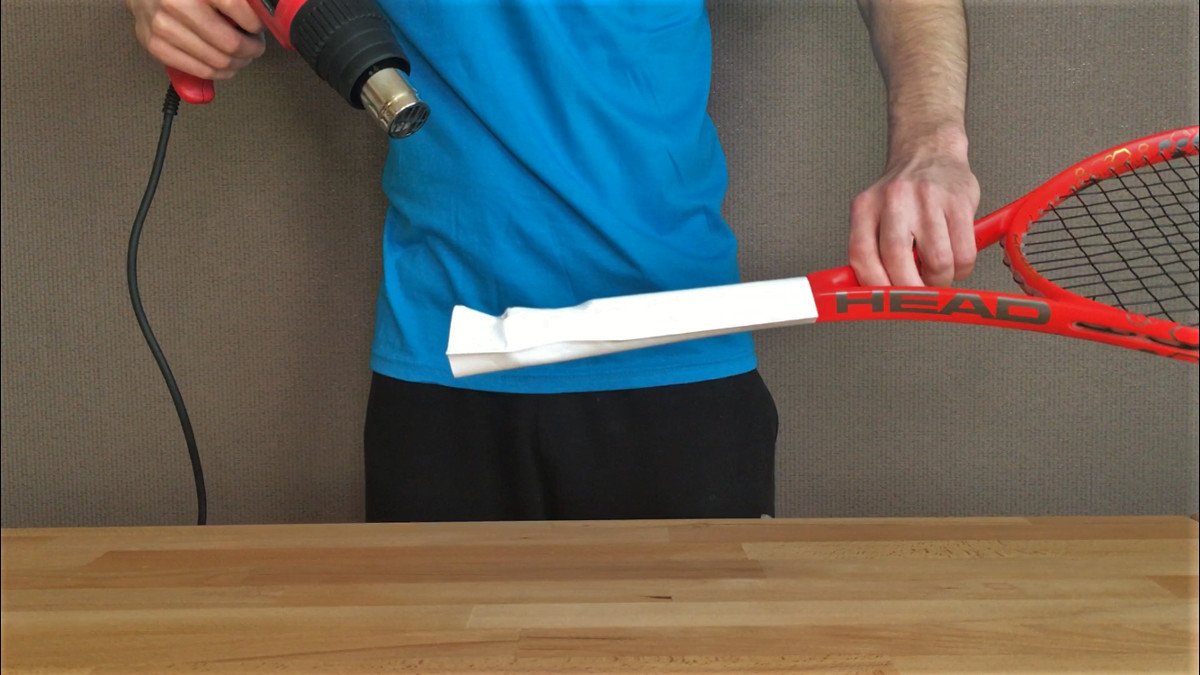
Rotate the handle at a constant speed so that each side of the shrink sleeve is heated evenly. It is important that you do not stay in one place for too long with the heat gun, otherwise the shrik sleeve would melt and could get holes.
Once the sleeve has shrunken and wrapped itself around the entire handle, let the handle cool down for a few minutes. Then check whether the sleeve still has bubbles or other folds and if necessary, improve them with the heat gun.
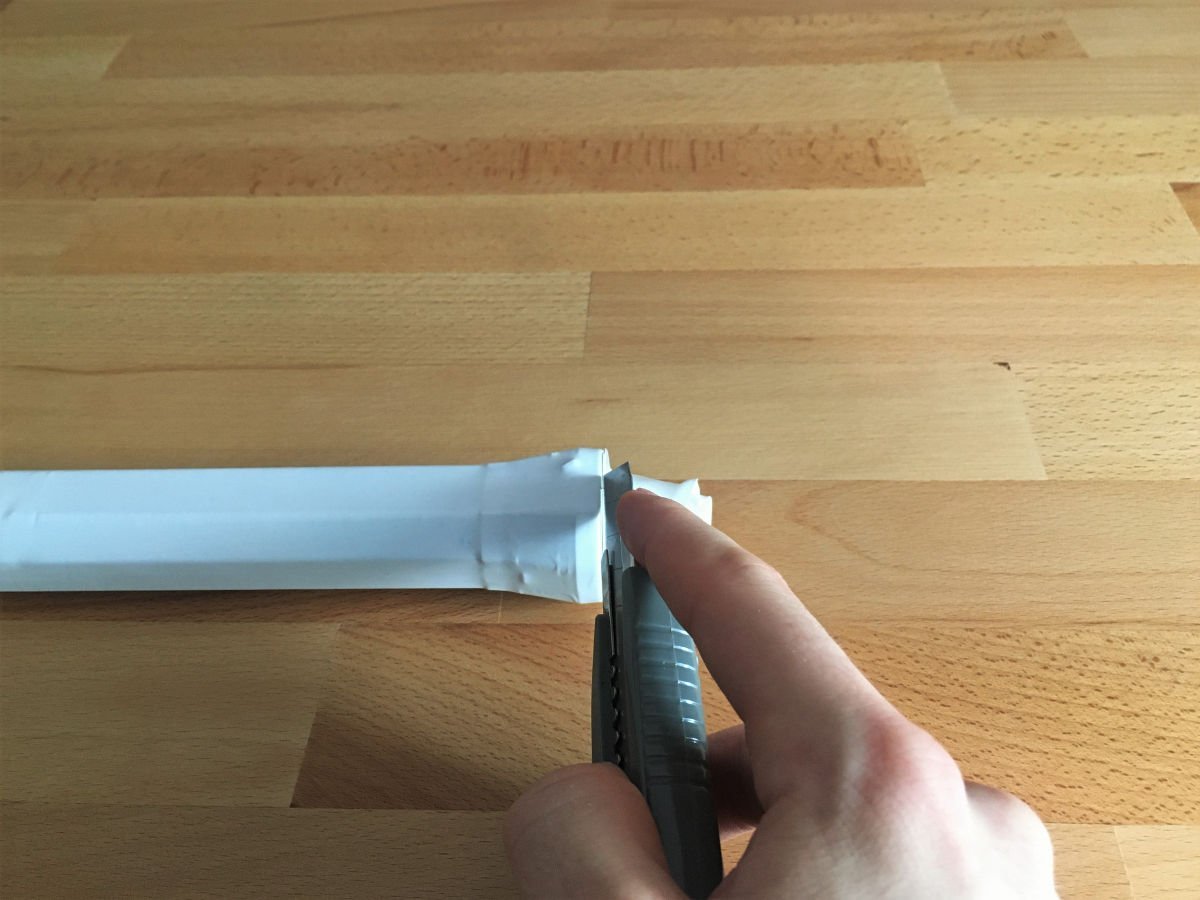
The last step is to remove the protruding end of the shrink sleeve. Place the cutter knife on the edge of the butt cap and cut the sleeve flush.
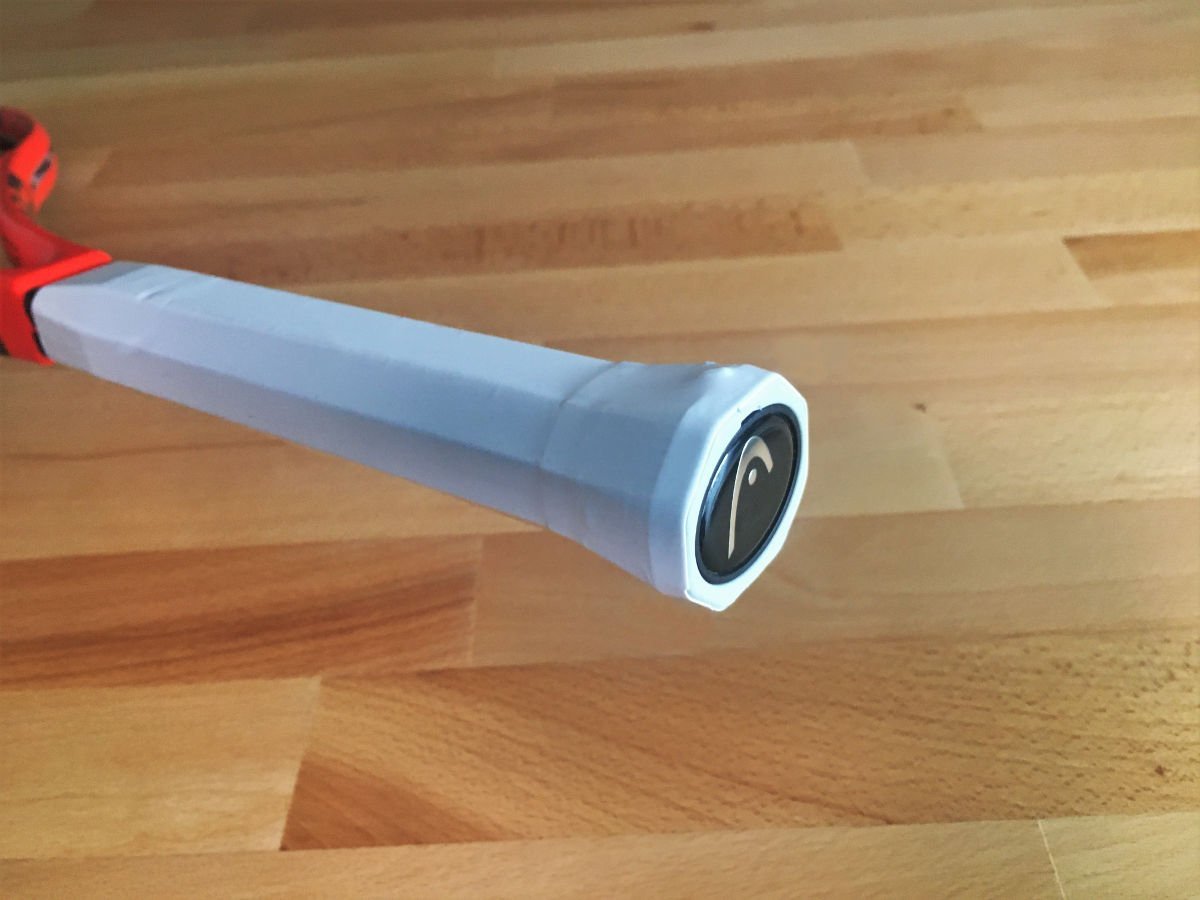
You can now wrap the new replacement grip over the shrink sleeve as normal. With this you have increased the grip size just in a few steps.